 (Image via
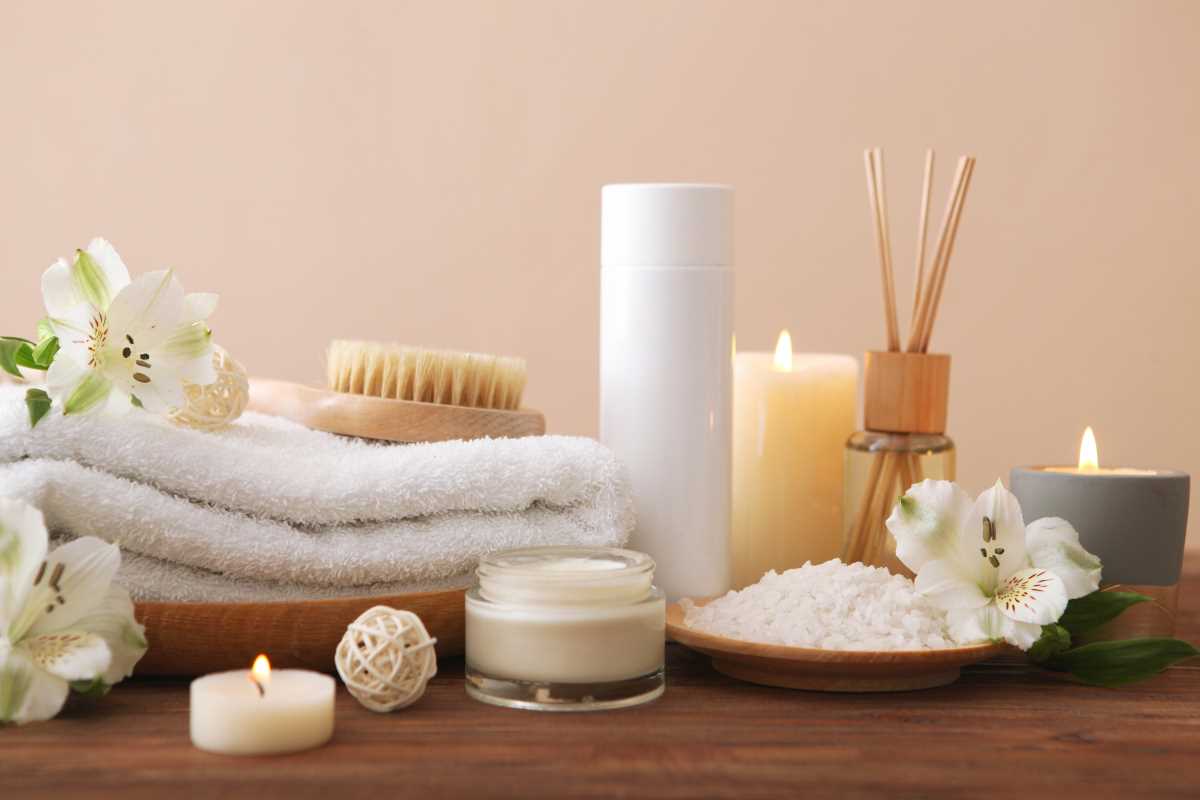
Making candles at home brings a personal touch to your living space and allows you to fill each room with scents you love. Pouring wax, choosing fragrances like calming lavender or bright citrus, and watching your candles take shape gives you a sense of accomplishment and relaxation. Lighting a candle you crafted yourself can create a cozy atmosphere and add a warm glow to any evening. The experience goes beyond simple decoration—it invites creativity and offers a chance to unwind, experiment with colors or shapes, and enjoy the unique ambiance only a handmade candle can provide.
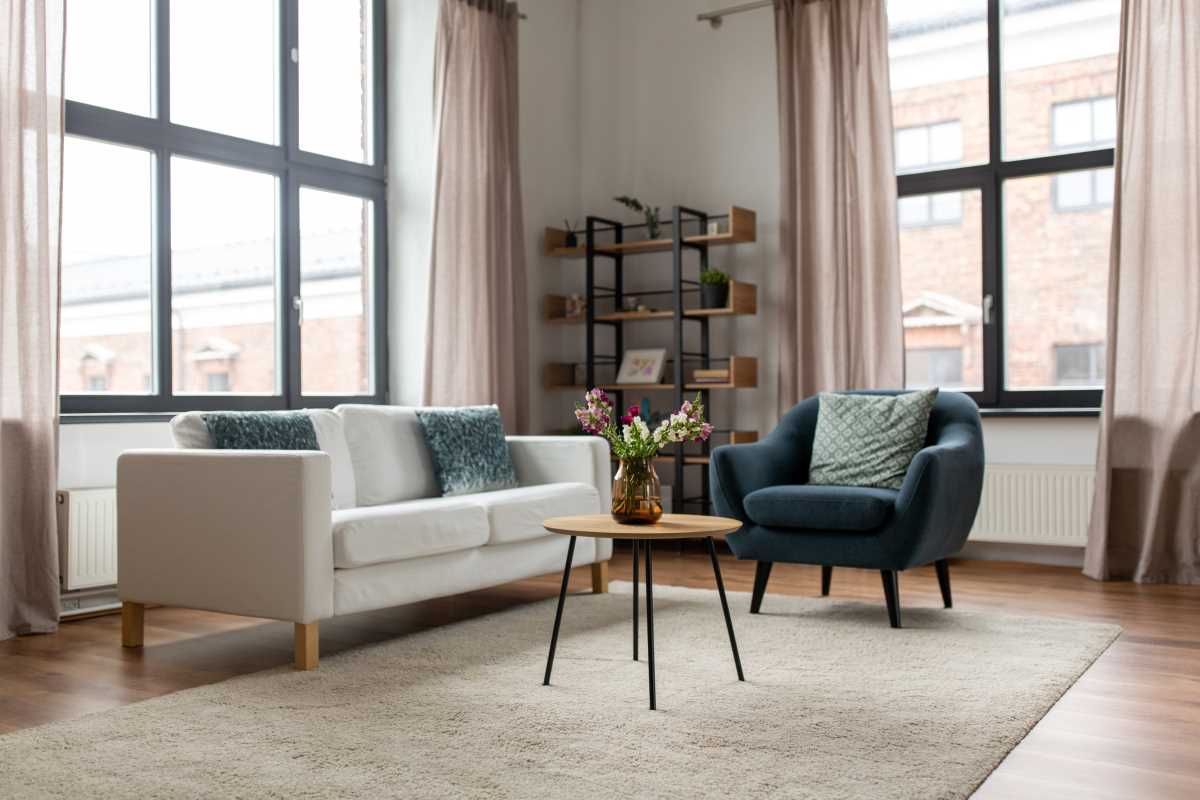
Every step in this journey celebrates personalized style and intentional ambiance. From selecting a unique vessel to styling your finished candle on a mantel, each choice lets you express original flair. Grab your supplies, and let’s light up your home with handcrafted charm.
Unexpected Spark: Fresh Perspectives on Crafting Candles
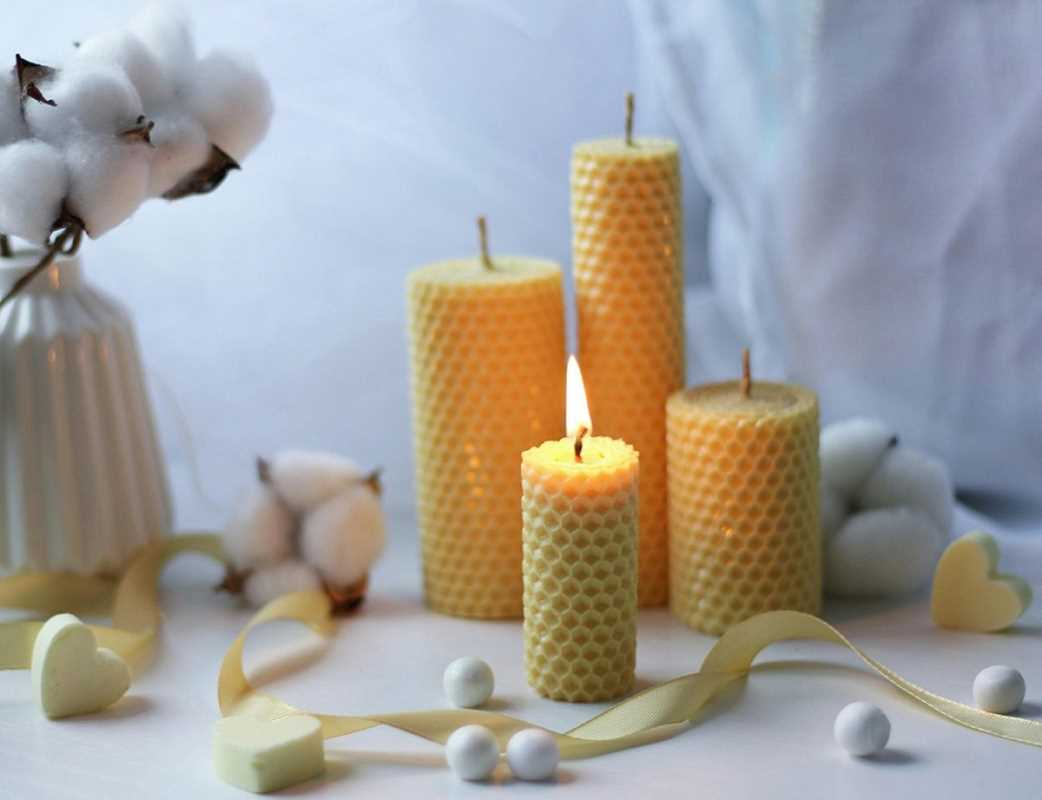
- Reimagine scrap wax into patterned layers: Instead of melting leftover bits into a single color, create stripes or marbled effects by pouring thin layers of different hues. This approach reuses every scrap, reduces waste, and produces eye-catching textures that catch flickering candlelight in surprising ways.
- Use eco-friendly botanicals as embedded art: Nest small dried petals or tiny sprigs of rosemary in melt-resistant channels along the container’s inside wall. These botanical accents give a subtle aromatic boost as the candle burns, and they unfold like miniature sculptures that shift as wax melts away over time.
- Build a DIY double-wick for even melts: Instead of settling for a single wick’s uneven burn pool, install two thin cotton wicks side by side when your candle’s diameter exceeds two inches. This simple tweak prevents tunneling and yields a broader melt surface so the candle lasts longer and looks evenly warmed.
- Conduct a fragrance blending lab: Perform small test pours with measuring spoons—combine one part vanilla extract with two parts peppermint essential oil in 100 grams of melted wax. Track each proportion on a recipe card, then sniff-test at room temperature. By experimenting with ratios, you create custom scent layers tailored to seasonal moods.
- Source personalized containers from secondhand shops: Scout shops for porcelain teacups, amber jars, or vintage tins. Washing, removing labels, and giving them a fresh heat-resistant primer transforms overlooked pieces into unique candle vessels. These finds often cost under five dollars and tell stories in your home accents.
Hands-On Guide to DIY Candle Creations
Wax Selection and Preparation
- Purpose: Choose and prepare the right wax for burn quality, scent throw, and eco profile.
- Steps:
- Measure 500 g of soy wax flakes for a medium-sized jar.
- Melt flakes in a double boiler until they reach 75 °C.
- Monitor temperature with a digital thermometer to avoid scorching.
- Cost/Availability: $3–$10 per pound; soy offers a clean burn and eco-friendly option.
- Tip: Add a pinch of stearic acid to boost wax opacity and fragrance retention.
Wick Selection and Placement
- Purpose: Ensure proper burn and even wax melt by choosing the right wick.
- Steps:
- Select wick size based on container diameter (use supplier charts).
- Center wick in container using a clip or clothespin.
- Pour a thin anchor layer of wax, let it set, and adjust if needed.
- Secure wick with a pencil or skewer.
- Cost/Availability: Cotton wicks ~$0.10 each (bulk), wood wicks $0.20–$0.40 each.
- Tip: Dip wick tab in wax, wrap with a paper towel, and freeze for 10 minutes for strong adhesion.
Fragrance Oil Integration
- Purpose: Add scent safely and evenly to your candle.
- Steps:
- Heat melted wax to 60 °C.
- Stir in 6% fragrance oil by weight.
- Mix gently for two minutes to avoid air pockets.
- Let rest for five minutes before pouring.
- Cost/Availability: ~$15 per 30 ml; bulk orders lower cost.
- Tip: Store oils in dark glass bottles at room temperature to preserve notes.
Container Preparation and Labeling
- Purpose: Prepare jars or vessels for clean pouring and professional finishing.
- Steps:
- Clean containers with rubbing alcohol and let air dry.
- Use adhesive labels or chalkboard tags for scent names and pour dates.
- Seal glass edges with heat-resistant tape for two-tone designs.
- Cost/Availability: Acrylic paint starts at $2/tube; custom labels ~$8/pack.
- Tip: Use a hairdryer to remove trapped moisture before pouring.
Finishing and Curing Techniques
- Purpose: Cure candles to improve scent throw, hardness, and burn life.
- Steps:
- Cure candles in a cool, dry space for 48 hours.
- Place containers on a level surface away from drafts and sunlight.
- Rotate jars gently after 24 hours to prevent uneven settling.
- Test burn for two hours; trim wick to 5 mm afterward.
- Cost/Availability: No added cost; requires time and patience.
- Tip: Cover jars with paper towels during curing to block dust without trapping moisture.
Tips for Sourcing Materials Without Breaking the Bank
You can find quality candle supplies without overspending by exploring online marketplaces, local cooperatives, and community groups. You’ll discover hidden gems that match the quality of premium stores at a fraction of the price. With budget-conscious creativity, you assemble an efficient stash ready for any DIY candle project.
- Scavenge online classifieds: Check neighborhood groups for leftover wax or bulk wicks sold by crafters clearing out supplies. You can score large batches of soy flake leftovers for under $10, saving up to 60%. Always request photos and confirm measurement units before buying to avoid surprises.
- Visit farmers’ markets: Seek out small-batch beeswax from local beekeepers who often sell directly in retail settings. Prices hover around $8–$12 per pound, but you get pure, unbleached product. Chatting with vendors also reveals tips on working with natural wax blends for lasting scent.
- Buy remnant wax at guild workshops: Join candle-making workshops or cooperatives that sell leftover wax at steep discounts after teaching sessions. These remnant pieces usually come in multiple colors and aromas, sparking creative marbling experiments at minimal cost.
- Swap supplies with craft circles: Connect with crafting groups on social platforms that host material swaps exchange events. Trading duplicate dye chips or unused fragrance oils costs nothing and introduces you to new aromas without dipping into your budget.
- Check recycle centers for glassware: Many glass recycling drop-off spots maintain sections where they offer intact jars for free. Clean them thoroughly, then sand or prime to customize paint or labels. Many containers showcase unique shapes that become signature pieces in your candle lineup.
Applying these sourcing techniques keeps your crafting sustainable and budget-friendly, so every candle you light carries a story of resourceful creativity.
Mistakes to Avoid When Crafting Your Candles
Control wax temperature carefully and allow candles to cure fully for lasting scent and smooth finishes. Always clean and prep vessels to avoid adhesion issues and messy pours. With patience and proper setup, you can craft unique candles that safely brighten your home.