 (Image via
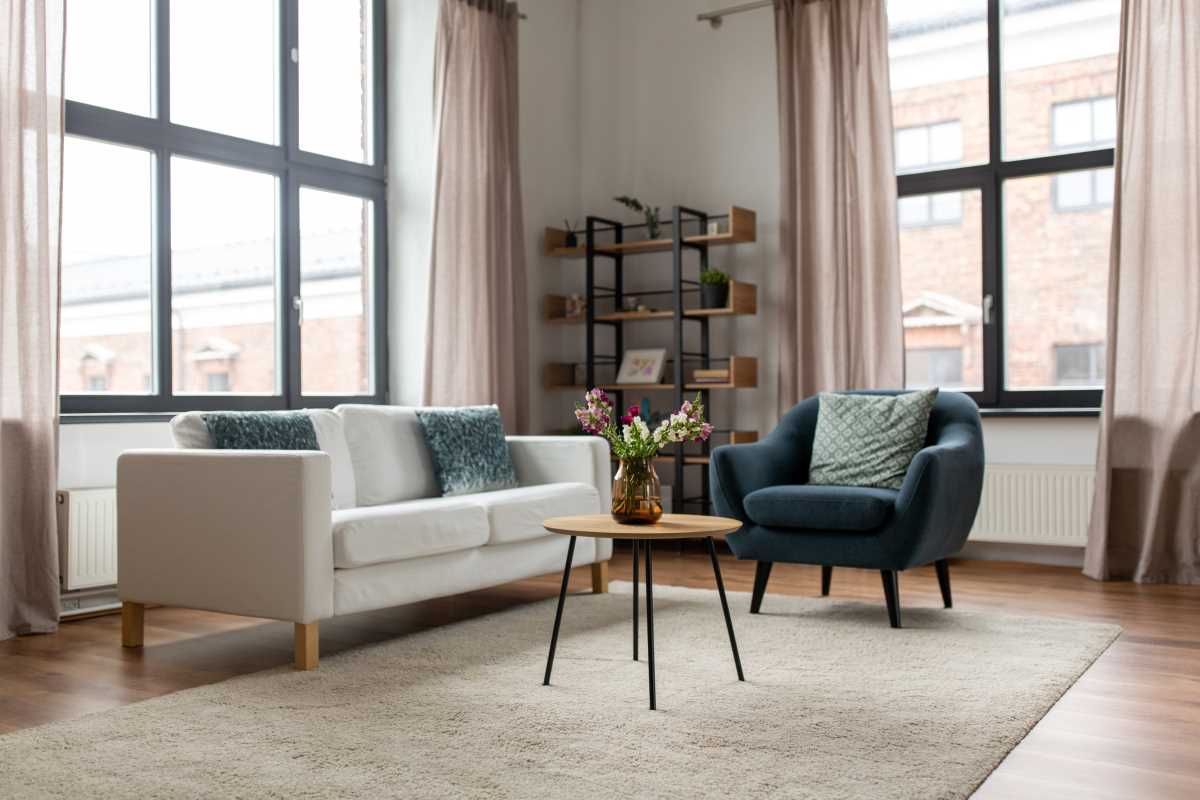
Designing a special space for crafting together turns ordinary moments into meaningful memories. When you organize a craft area with designated places for materials, work tables, and finished projects, you make it easier to focus and enjoy the process. Each section of the space supports a different part of your creative journey, from gathering supplies to proudly displaying your creations. As you gather around the table, inspiration grows and every session feels more enjoyable and productive. This shared space encourages collaboration and helps everyone feel involved, turning crafting into a favorite group activity filled with laughter and accomplishment.
Whether you’re tackling simple paper crafts or more advanced woodworking, carving out a corner in your home for creative work makes a big difference. It signals that you value each other’s time and talents. With a few thoughtful touches—like a comfortable seating arrangement and plenty of natural light—you’ll set the stage for both practical crafting and meaningful conversation.
Design Your Ideal Craft Space
Start by understanding how you both like to work and what supplies you need nearby. When you plan carefully, you prevent clutter and keep an inspiring atmosphere. First, examine the room’s layout. Note where outlets sit, how much wall and floor space is available, and whether you need additional lighting.
Next, picture how you want to move from one task to another. Do you need a rolling cart for quick access or a wide table that encourages detailed projects? Talk about preferences and sketch a rough floor plan that supports joint activities as well as solo work.
- Choose a location with natural light to reduce eye strain and improve mood.
- Map out separate areas for cutting, painting, and storage to keep materials organized.
- Pick comfortable chairs with back support for long crafting sessions.
- Include a chalkboard or corkboard wall to pin up project ideas and color swatches.
Key Tools and Storage Ideas
Once you’ve set the layout, gather tools suitable for the crafts you plan to do. A knife set and self-healing mat work wonders for paper cutting. A quality glue gun and a selection of adhesives keep materials secure. When you have reliable, easy-to-find tools, you spend less time hunting down supplies and more time creating.
Smart storage solutions help you keep a neat appearance and prevent small items from getting lost. Use containers that stack or slide into cabinets for maximum efficiency. Label everything clearly so you both know exactly where to find buttons, beads, brushes, and fabric scraps.
- Invest in clear plastic bins with lids to group similar items, like ribbons or paint tubes.
- Mount floating shelves above your workspace for quick access to jars, baskets, and display pieces.
- Use magnetic strips to hold scissors, metal rulers, and other frequently used tools.
- Add a rolling drawer unit under the table to store heavier items like sewing machines or power tools.
Encouraging Creative Collaboration
Fostering teamwork requires a flexible design that adapts to your different styles. Create a central table where you can sit side by side or face each other. Keep individual tool caddies at each end so you don’t constantly pass items back and forth. Plenty of surface space allows each person to spread out materials, while still feeling connected.
As you explore mother-daughter projects, you’ll find step-by-step tutorials to refresh any corner of your home. These ideas include upcycled furniture and hand-painted planters, all explained clearly so both beginners and experienced crafters can participate. Feel free to adjust color schemes, materials, and sizes to suit your style and space.
This shared space becomes a lively workshop where brainstorming, trial-and-error, and laughter produce truly unique keepsakes. Remember, perfection isn’t the goal; enjoying the process together matters most.
Ideas for Mother-Daughter Projects
- Hand-decorated canvas tote bags: Use fabric paint and stencils to create personalized designs you can wear proudly.
- Memory shadow boxes: Collect small tokens—ticket stubs, dried flowers, tiny trinkets—and arrange them in glass-front boxes.
- DIY macramé plant hangers: Teach knotting techniques while creating a boho-chic accent for your favorite greenery.
- Painted terra cotta pots: Experiment with ombre effects, polka dots, or geometric patterns to brighten indoor and outdoor plants.
- Custom wall art: Combine watercolor backgrounds with handwritten quotes or simple line drawings for a gallery-worthy finish.
Each of these projects promotes teamwork. One person can paint while the other adds embellishments, creating a smooth workflow and a special piece that reflects both contributors.
Keeping Your Craft Area Organized and Inspiring
Keep your craft zone welcoming by setting aside time for regular tidy-up sessions. A quick 10-minute reset after each project guarantees the space remains inviting and efficient. Swap out seasonal materials, like holiday ribbons or spring flowers, to keep the atmosphere fresh and aligned with upcoming celebrations.
Display a rotating selection of your favorite finished projects. Place them on open shelves or hang them on the wall to remind you of past successes and spark new ideas. Consider snapping progress photos and creating a digital gallery to track your creative growth together.
Creating a functional and inspiring craft space enhances your home and deepens your connection. With planning and enthusiasm, each session becomes a chance to learn, create, and celebrate your shared creativity.